Overlay transparent polygons on image using python
In this post, we will see how to overlay a polygon on images using opencv and PIL, the polygon is defined as a series of vertices inside an array and we will do a transparent overlay of this polygon on the image.
Additionally, we will see how to overlay a polygon mask image on the original image, yeah you can also say blending of a mask(png) and image(jpeg).
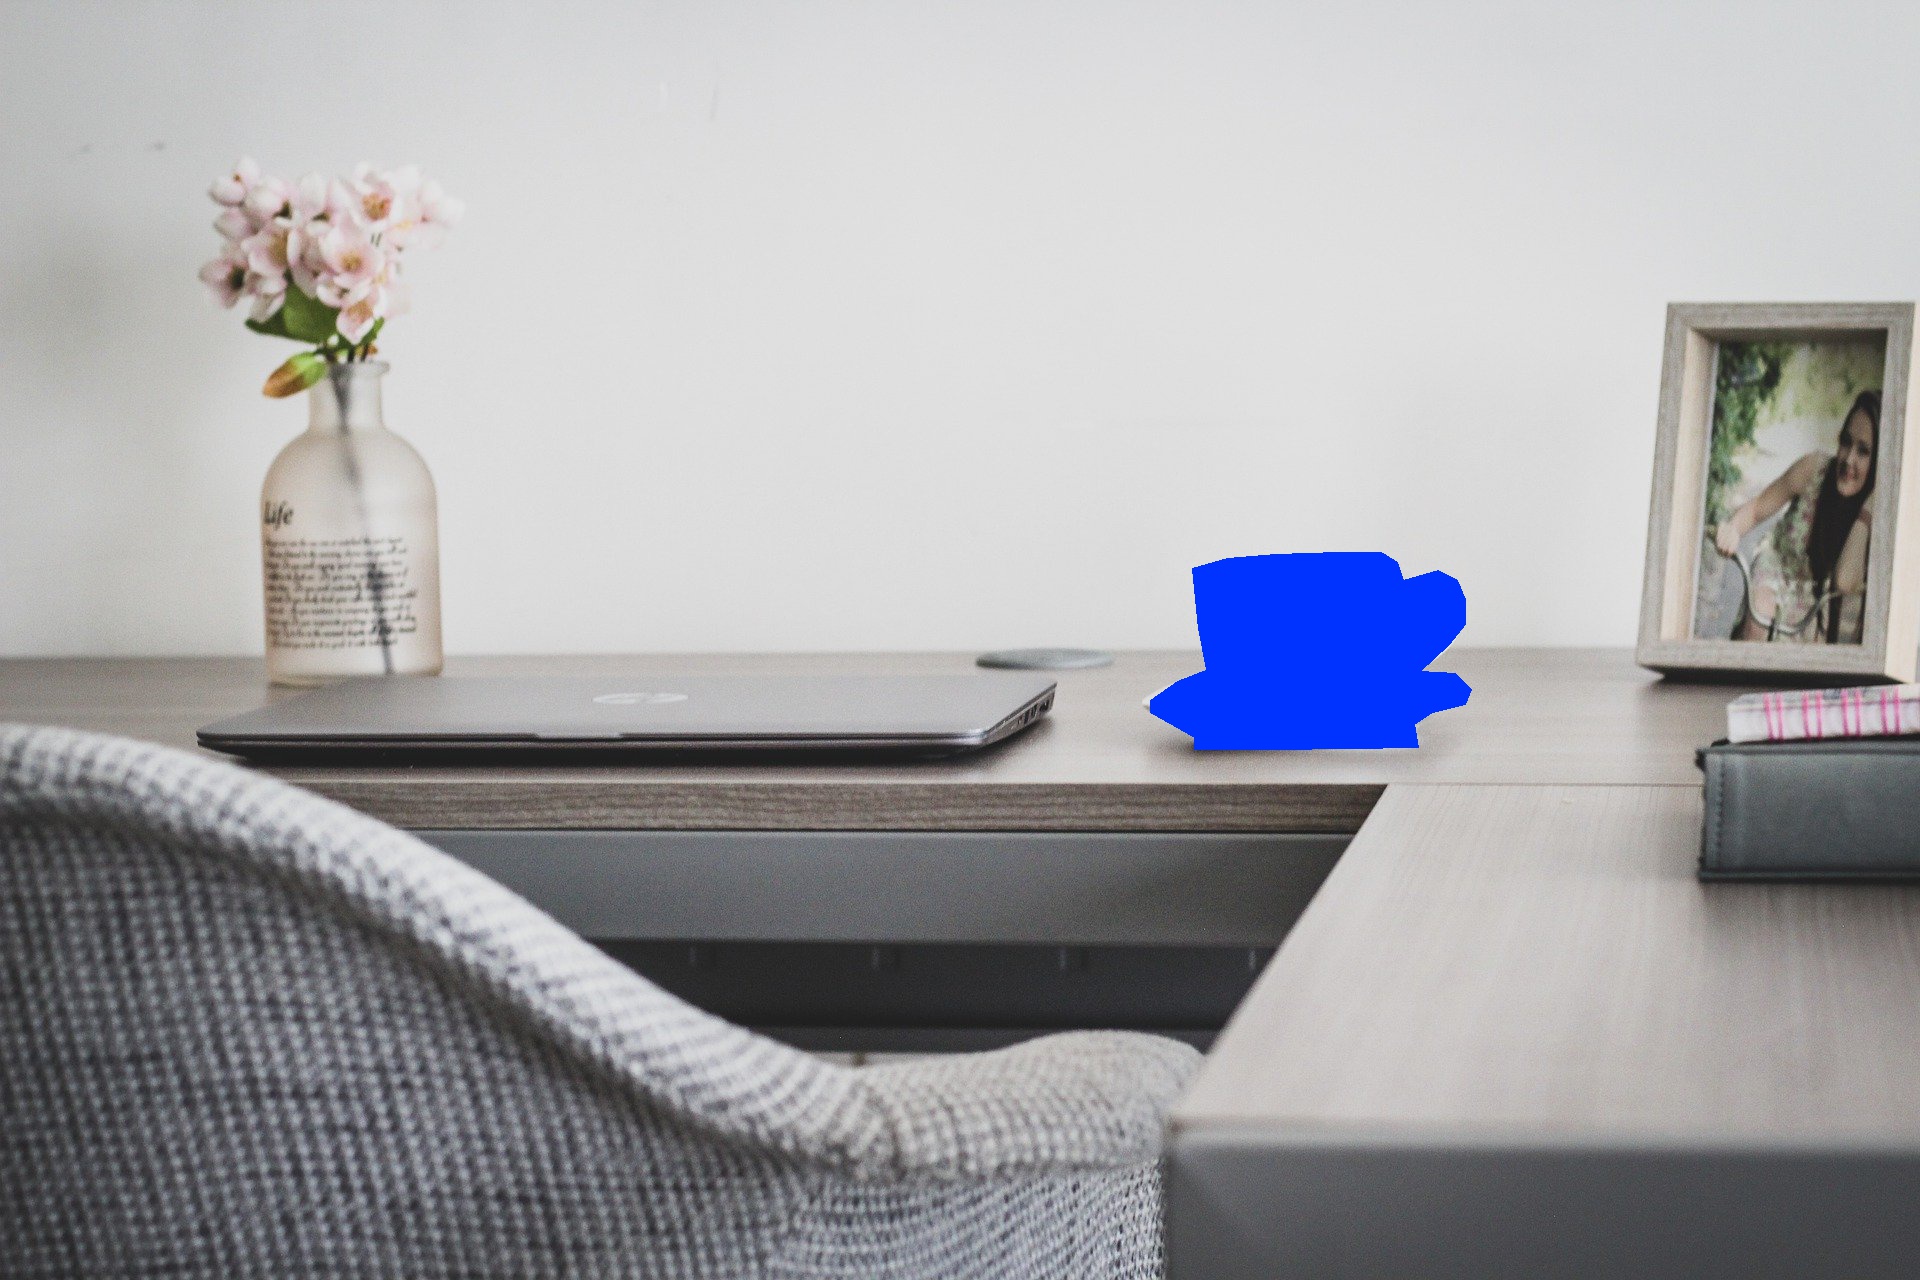
Let’s get started, here is our original image that we will use to overlay the polygon of the coffee cup seen in the below image
Original Image:
This is the original image that we will be using in this blog
import matplotlib.pyplot as plt
import cv2
import numpy as np


image=cv2.imread('./workplace.jpg')
plt.imshow(image)

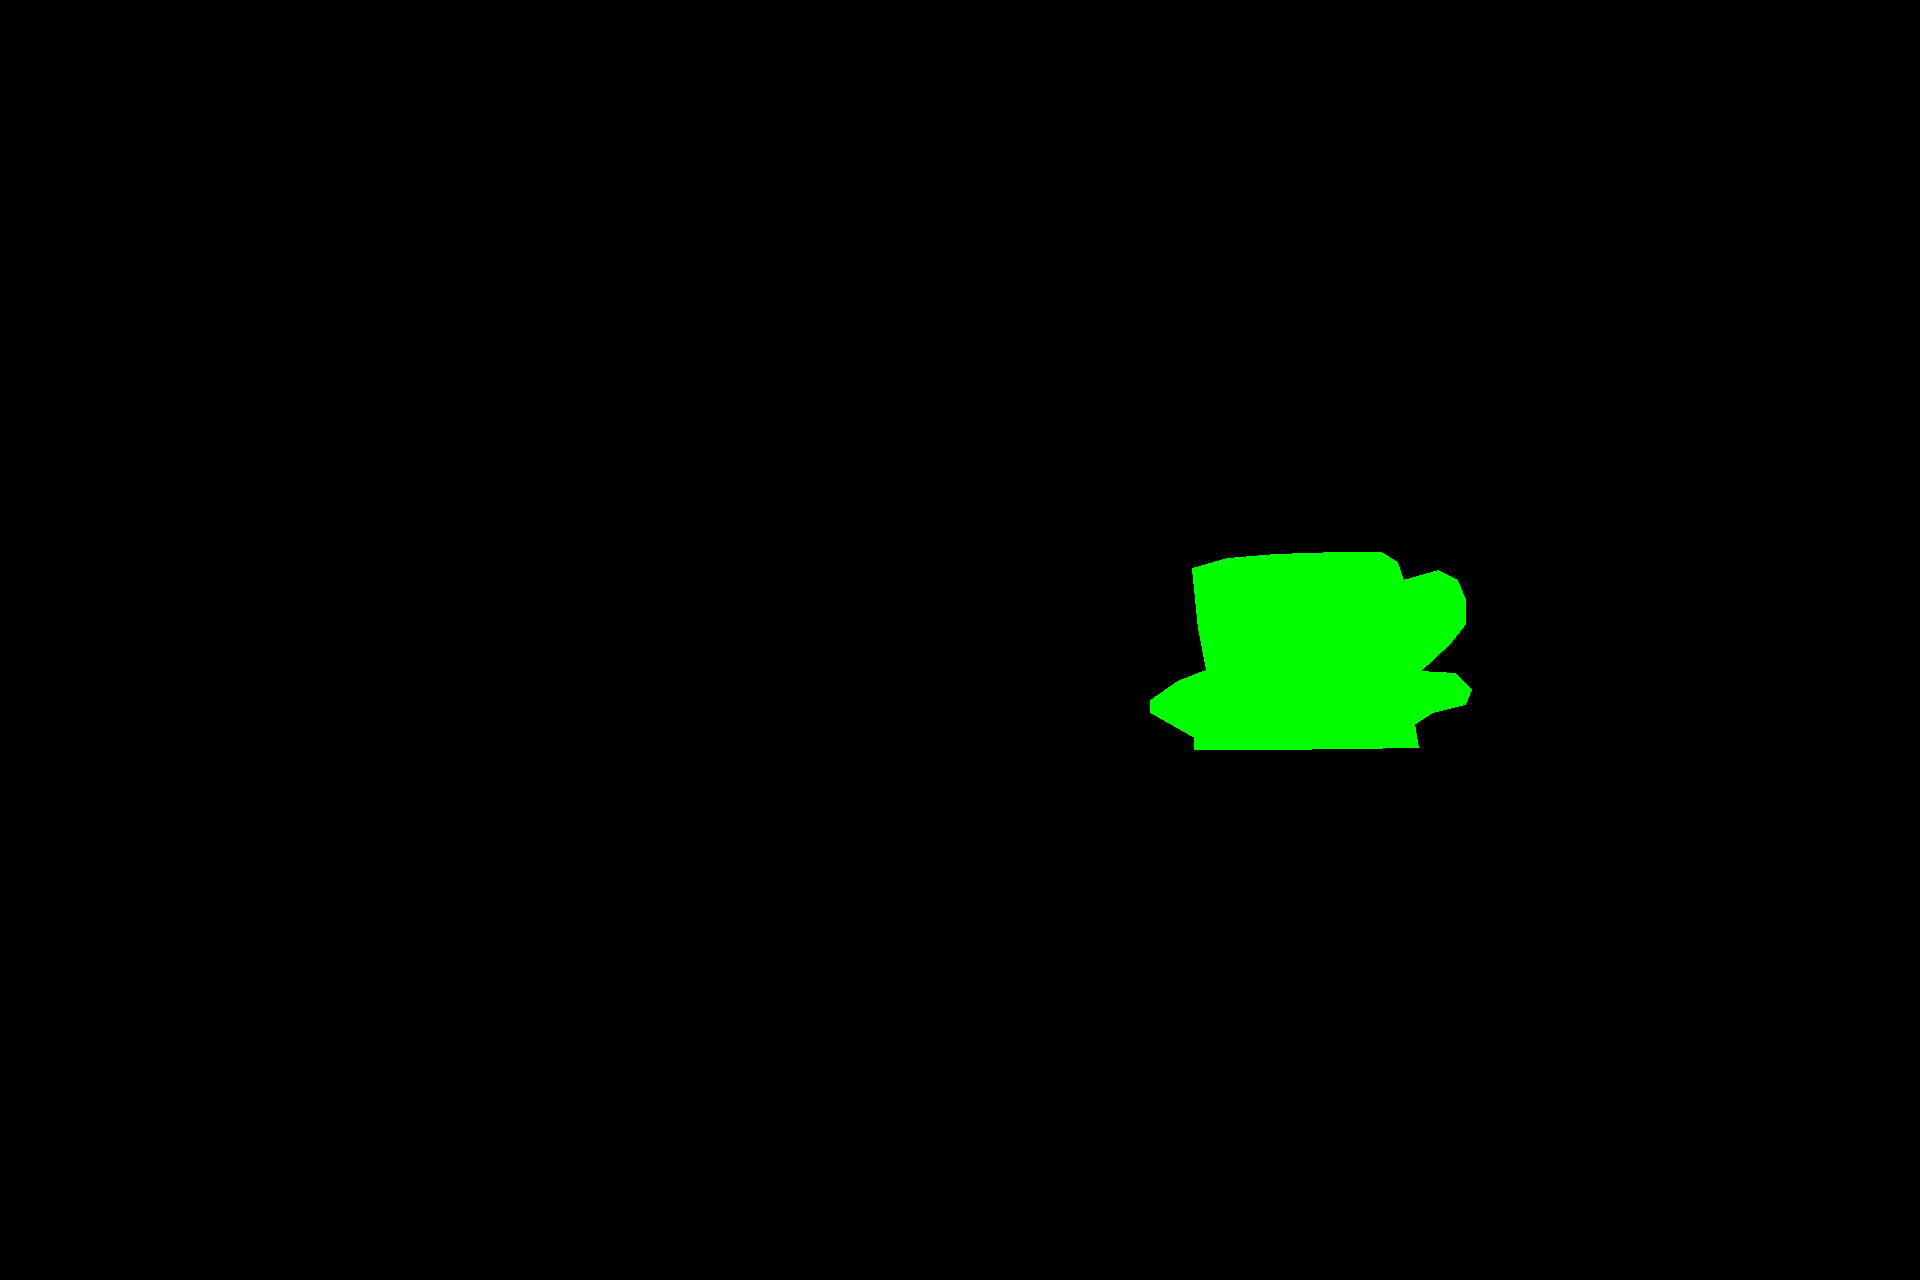
Create Mask image using Polygon vertices
Next we will create a polygon around the coffee cup in this image using it’s x,y coordinates and save a mask png file. opencv fillpoly is used to fill the area bounded by coffee cup polygon vertices and then saving it as a png file
x=[1206,1198,1192,1227,1276,1338,1381,1397,1403,1438,1457,1465,1465,1449,1420,1455,1471,1465,1432,1414,1418,1276,1194,1194,1150,1150,1177,1208]
y=[669,628,568,558,554,552,552,562,580,570,580,599,624,644,671,673,689,704,712,724,747,749,749,737,712,700,681,669]
cup_poly=[(x,y) for x,y in zip(x,y)]

mask = np.zeros(image.shape,np.uint8)
vertices = np.array(cup_poly)
mask=cv2.fillPoly(mask, pts = [vertices], color =(0,255,0))
cv2.imwrite('workplace.png',mask)
plt.imshow(mask,cmap='gray')
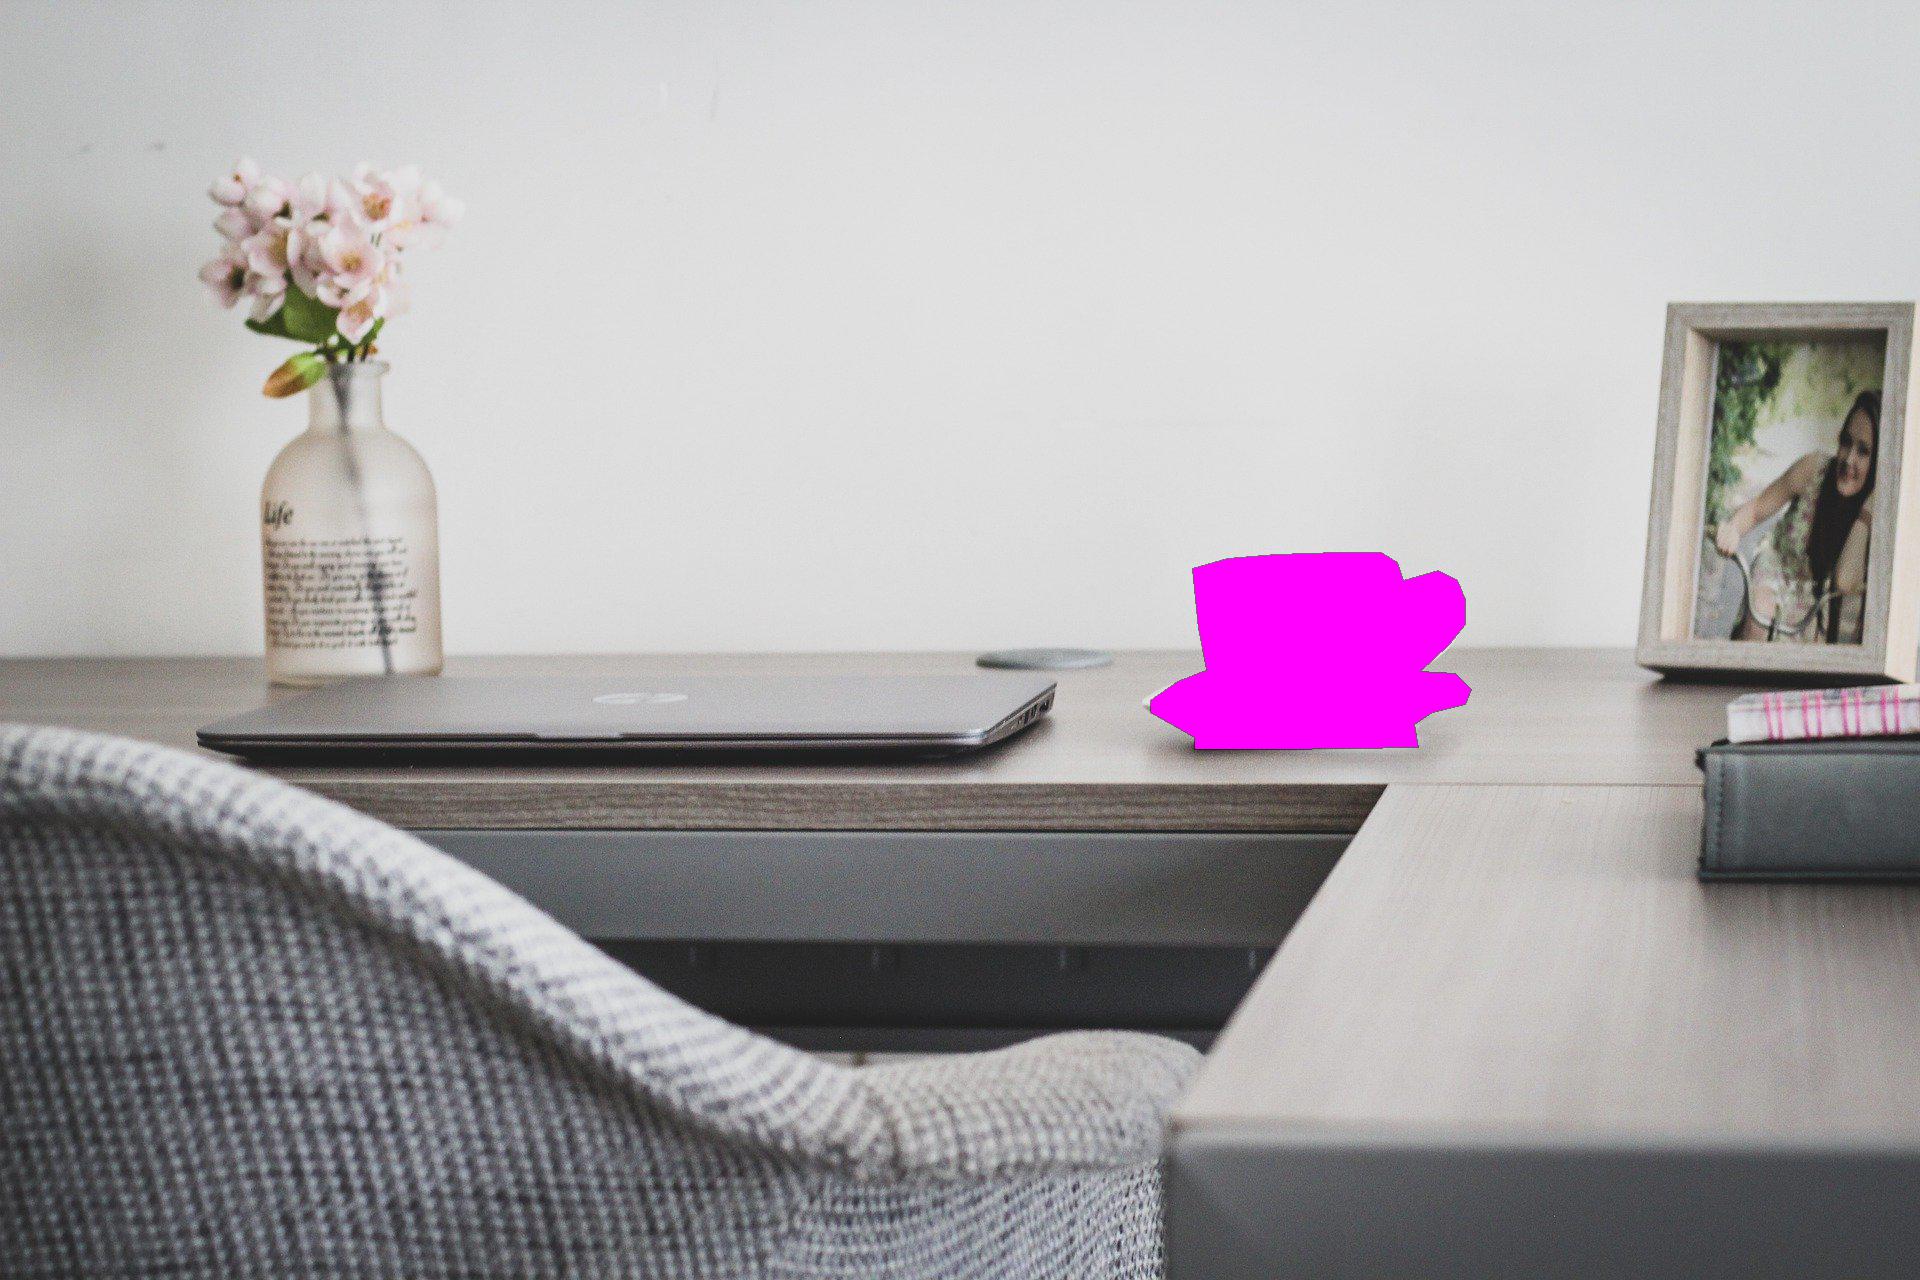
Overlay Transparent Polygon vertices on the Original Image using PIL
overlay with half opacity
Let’s use the coffee cup polygon vertices and overlay it on the original image with half opacity. PIL polygon let you draw the polygon on a separate image and fill it with a color and then paste it on the original image. The fourth parameter in the polygon fill param is for the intensity of the pixel i.e. between 0-255 and decides the opacity of the polygon on the RGBA image. so we have selected a value 128 which is halfway between 0 and 255.
#half opacity
from PIL import Image
from PIL import ImageDraw
image=Image.open('./workplace.jpg')
poly = Image.new('RGBA', image.size)
pdraw = ImageDraw.Draw(poly)
pdraw.polygon(cup_poly,
              fill=(255,0,255,128),outline=(0,0,0,255))
image.paste(poly,mask=poly)
plt.figure(figsize=(10,10))
plt.imshow(image)

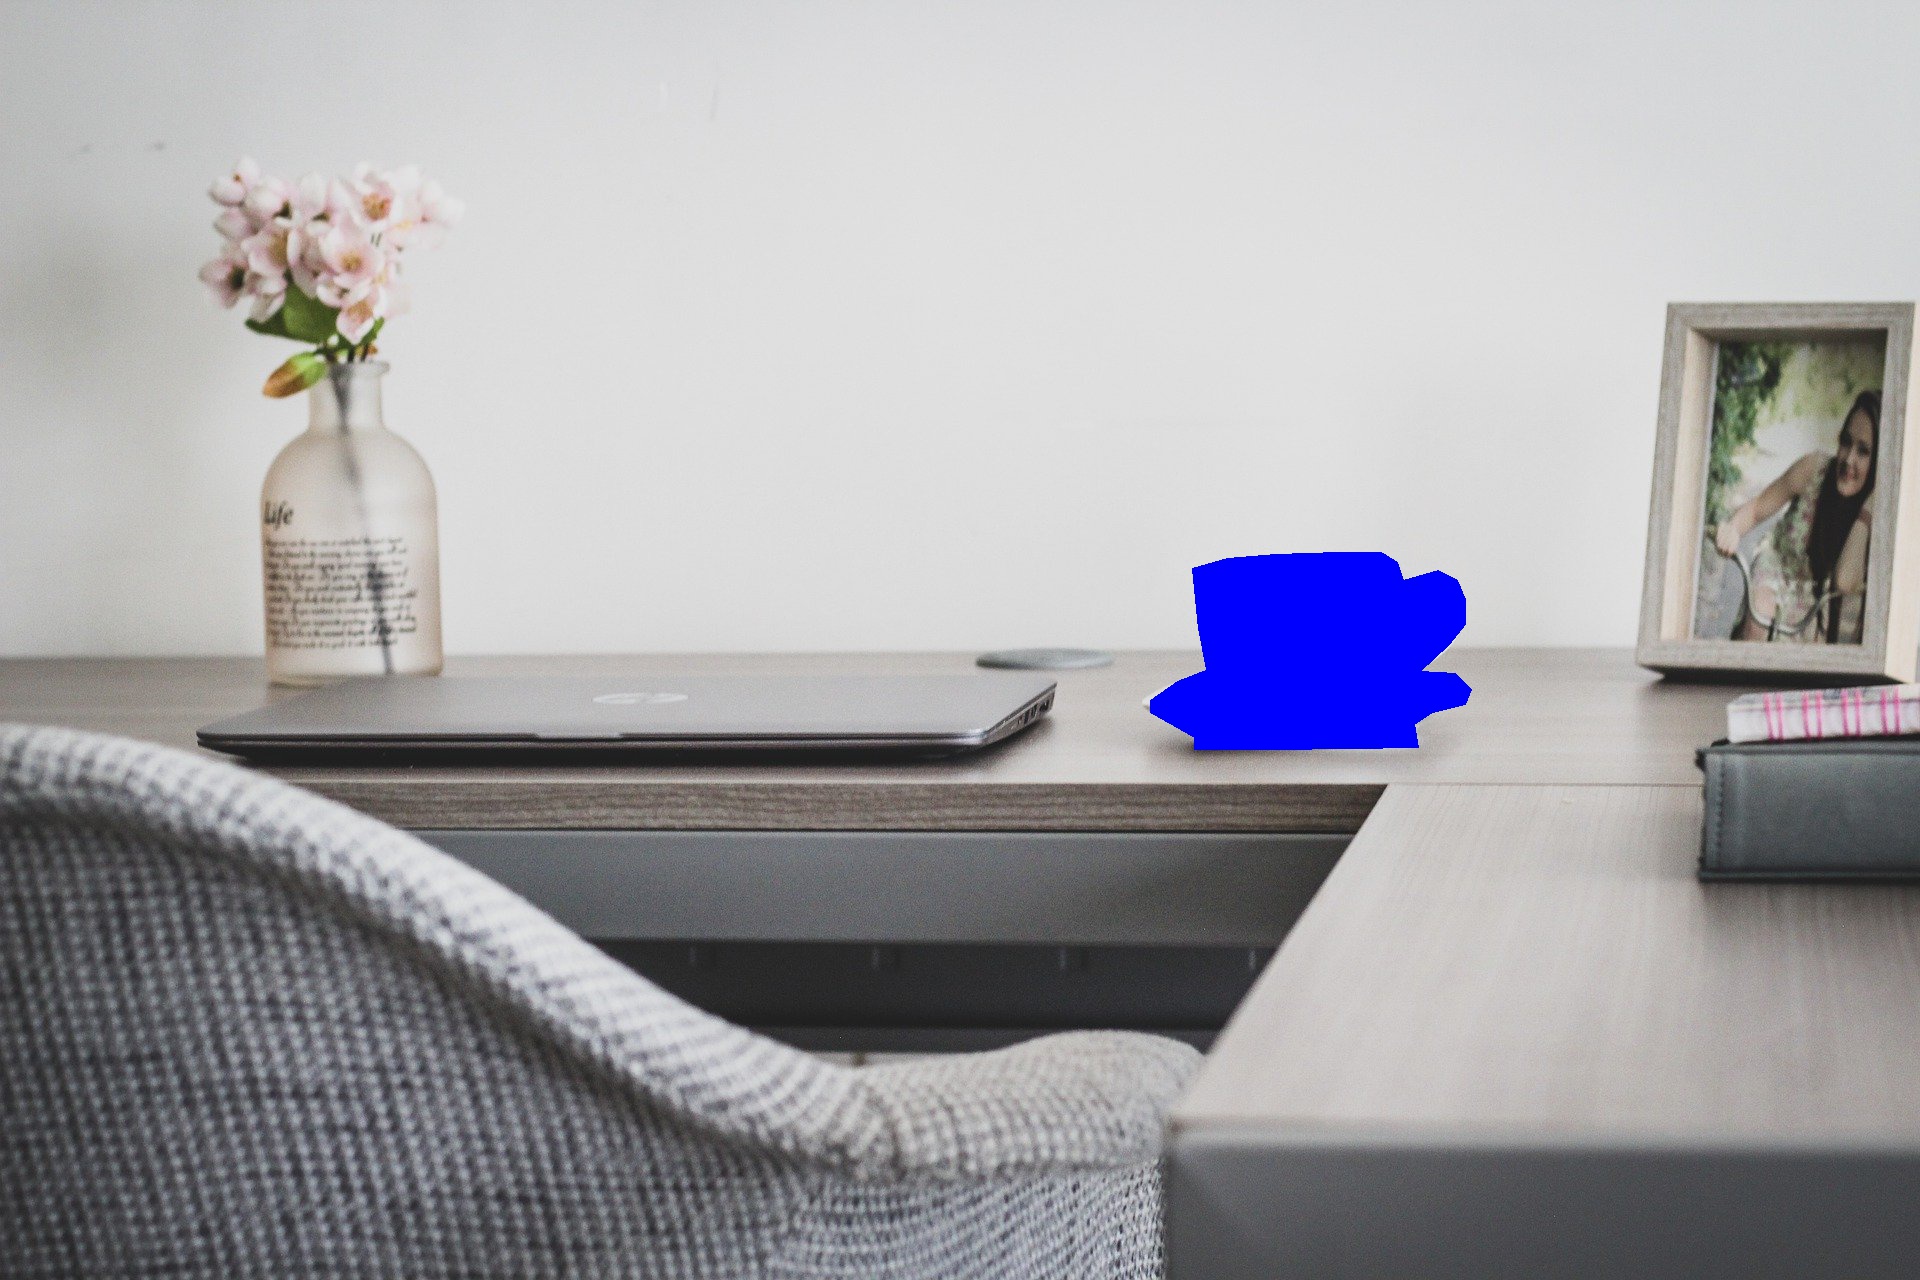
overlay with full opacity
Here we use the coffee cup polygon vertices and overlay it on the original image with full opacity. here we have selected a value of fill opacity as 255 which is the max value
#full opacity
from PIL import Image
from PIL import ImageDraw
image=Image.open('./workplace.jpg')
poly = Image.new('RGBA', image.size)
pdraw = ImageDraw.Draw(poly)
pdraw.polygon(cup_poly,
              fill=(255,0,255,255),outline=(0,0,0,125))
image.paste(poly,mask=poly)
plt.figure(figsize=(10,10))
plt.imshow(image)
Overlay Transparent Polygon vertices on the Original Image using Opencv
we’ve seen so far, how to overlay the polygon vertices on the original image using PIL, In this section we will use opencv fillpoly method for overlaying the vertices on the image
#full opacity
from PIL import Image
from PIL import ImageDraw

image=cv2.imread('./workplace.jpg')
vertices = np.array(cup_poly)
filledimg=cv2.fillPoly(image, pts = [vertices], color =(255,0,0))
cv2.imwrite('workplace_overlay_opencv.jpeg',image)
plt.imshow(image)
Blend Mask and Original Image using Opencv Addweighted
We can also blend the saved coffee cup mask and the original Image using opencv addweighted function, this function takes 4 parameters, image is the first input array then it’s alpha value i.e. weight of first array element, third param is second input array(mask) of the same size and channel number as first array and beta which is the weight of the second array elements and finally the gamma value which is scalar added to each sum
#full opacity
from PIL import Image
from PIL import ImageDraw

mask = cv2.imread('workplace.png')
blendimg=cv2.addWeighted(image, 1, mask, 0.2, 0)
plt.figure(figsize=(10,10))
cv2.imwrite('workplace_overlay_mask_opencv_addweighted.png',blendimg)
plt.imshow(blendimg)